
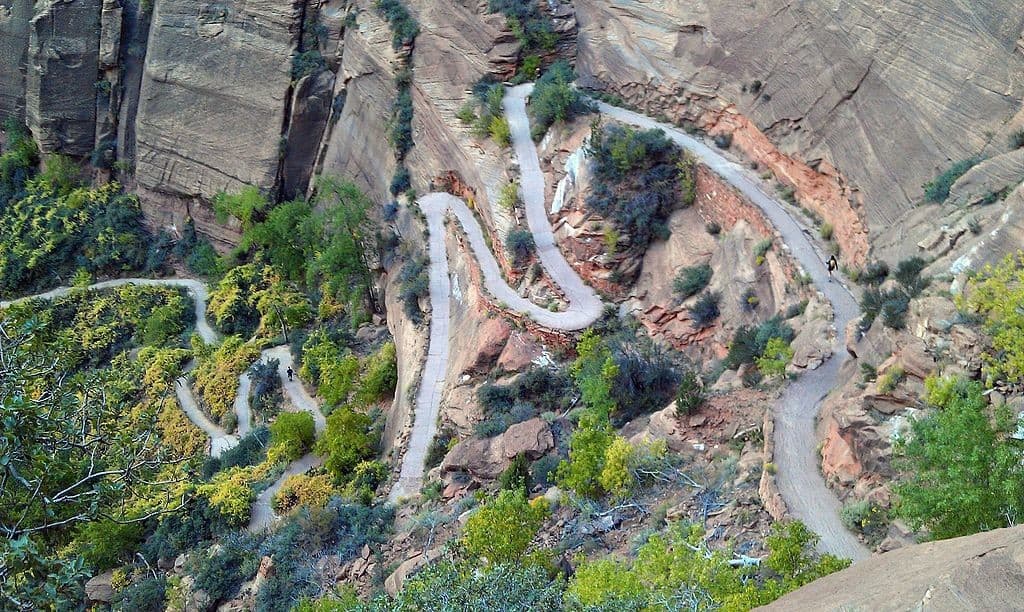
Have you ever been hiking up a mountain when you suddenly encountered a winding S-like trail? That was a switchback.
I spend most of my days in the mountains. It wasn’t until recently, however, that I learned about switchbacks. I had encountered them, but I had never really given them much thought. So I did what any other hiking enthusiast would do; I researched and asked around about them.
This three-part guide is everything I gathered on switchbacks. If you are new to the hiking game, or just green about switchbacks, this article is for you. It covers switchbacks:
- What are they?
- Why do they exist?
- How do You navigate them?
What are Switchbacks?
The online Merriam-Webster Dictionary defines a switchback as a curved road, trail, or section of railroad tracks.
A switchback is a winding path that cuts across a steep mountain from side to side while going up. The opposite of a switchback is a hiking trail that goes straight from the foot of the mountain to the summit. Switchbacks exist where a direct hike would be too dangerous.
The Saddle Peak in the Santa Monica Mountains offers an excellent switchback hike.
Why do Switchbacks Exist?
Most hikers loathe switchbacks and can virtually spot them from a mile away, pun intended. A possible reason would be the fact that switchbacks create a more time-consuming hike. Some switchbacks can stretch up to 3 miles.
Nevertheless, switchbacks are built to make hikes up a steep slope more manageable. They work by reducing the elevation grade to make for an easier climb. Switchbacks significantly reduce the chances of a hiker falling off the face of a mountain.
Secondly, switchbacks directly contribute to soil and vegetation conservation in the mountains. Have you ever heard of grade dips? These are structures built along a mountain slope to prevent soil erosion. Switchbacks make it possible for trail conservers to build these dips by creating a consistent mountain gradient.
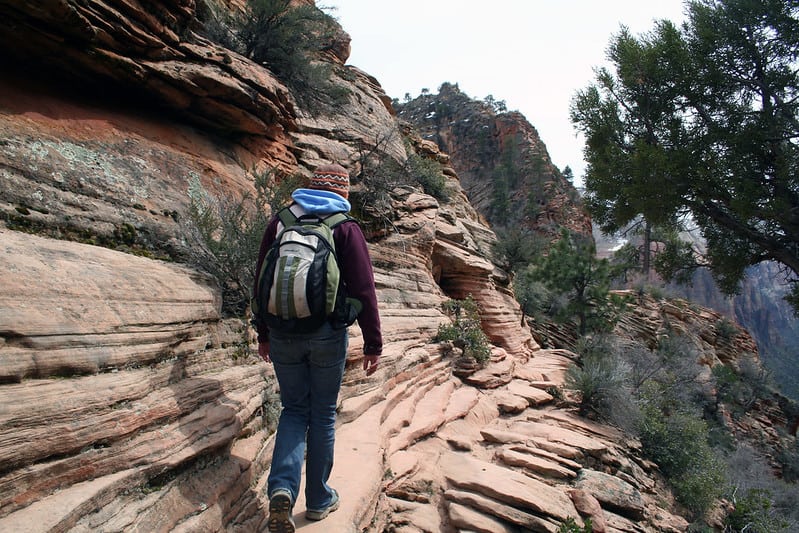
How do You Navigate Switchbacks?
Now that you know what switchbacks are and why they exist, it’s time to learn how to navigate them. The first step of any hike is preparation. You will need to prepare two things; your body and your climbing gear.
Your Body
A switchback hike is a long and challenging hike. Most hikers give up halfway along the trail. If you’re going to go all the way –why wouldn’t you- you will need to build your strength and endurance. In my experience, it is usually more useful to start exercising for your hike a month before.
Choose exercises that build your leg and core muscles, increase your balance, lengthen your endurance, and improve your cardio.
Anytime I am preparing for a hike, I take the stairs to work every day. I start with one step at a time and build up to two. I do quite a bit of aerobics for my cardio exercise and squats in the morning to strengthen my legs. Some hikers add downhill lunges to the mix.
These workouts have worked great for most of my hiking buddies and me over the years. I suggest you try them. Nonetheless, you can pick your routine so long as it aims for your leg and core muscles.
Don’t forget to do a lot of stretching!
Your Climbing Gear
Hike trails can be treacherous, especially if you do not have the right gear. If you’re wearing uncomfortable shoes, it won’t matter how fit you are; you won’t make it to the summit.
The gear you bring on a hike often depends on where the hike is, the duration and difficulty of the hike as well as the weather conditions. However, some items are a must-have. If you’re a newbie, here’s what you’ll need:
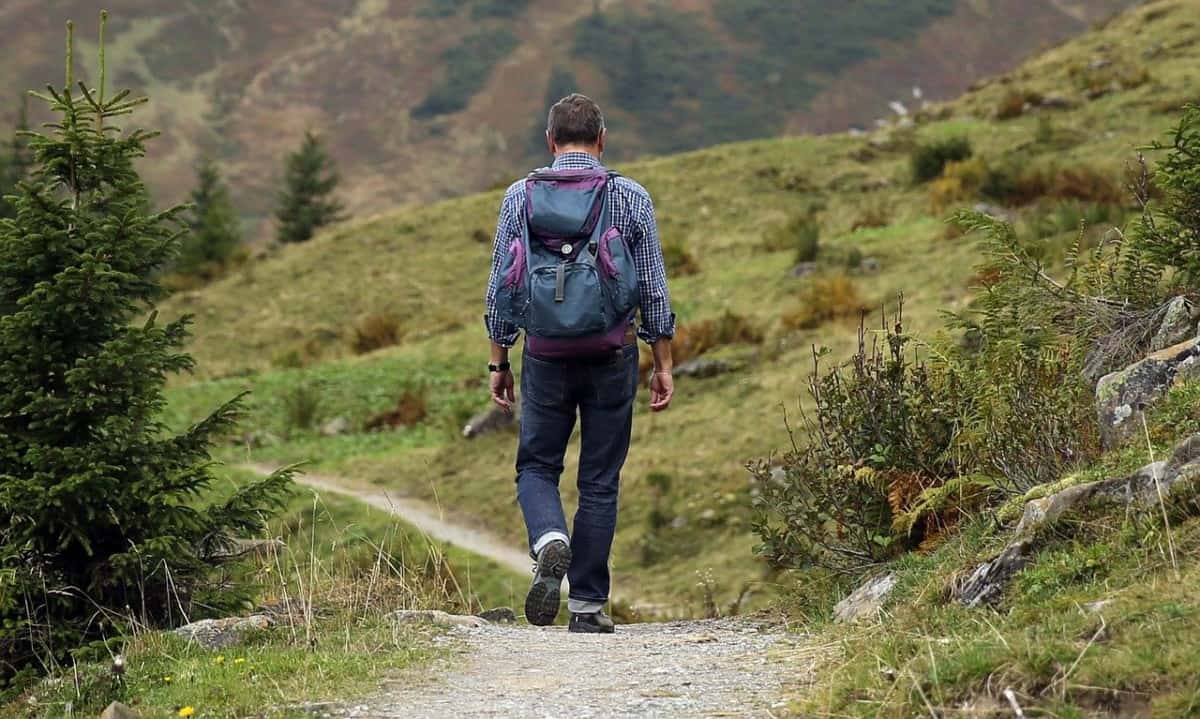
A backpack
A backpack is essential for carrying clothes, food, and water.
Because most of my hikes are day hikes, I use the Osprey Talon 22 day pack. Its hip belt and straps are padded for comfort. It has lots of storage spaces, and the design is magnificent.
Hiking shoes or boots
Some hikers like boots, others like hiking shoes. I prefer hiking boots. But the choice is yours.
If you’re a boot lover like me, you should check out the Merrel Moab 2. It is lightweight and completely waterproof. What’s more, it is highly affordable and available for both Men and Women.
More good news, shoe lovers can also get Merrel Moab Hiking Shoes. Check this out if you are looking for budget friendly options.
Clothes
Bring clothing suited to the weather conditions. For example, include a heavy jacket for winter hikes.
Sun protection
That is; sunglasses, caps, and sunscreen.
Food and water supply
You can buy a backpack with a hydration system installed, such as the Gregory Nano 22 H2O. Carry dry foods.
GPS
Or any locating device you find preferable.
First Aid Kit
Injuries are a hiker’s worst nightmare. We don’t ask for them, but we sure do prepare in case they happen. Bring along a first aid kit, your medication, if you have any, and shots for any allergies you might have.
Tent
If you plan on hiking for a few days, carry a tent and sleeping bag.
Conclusion
When all these factors are in place, navigating your switchback will be easy. Make sure to hydrate and maintain a steady pace. Take breaks, but don’t sit down. You don’t want your heart rate to slow back to normal. You can use hiking poles if you want to but keep them short. Lastly, thinks of navigating a switchback like taking the scenic route. Enjoy the views!

Leave a Comment